|
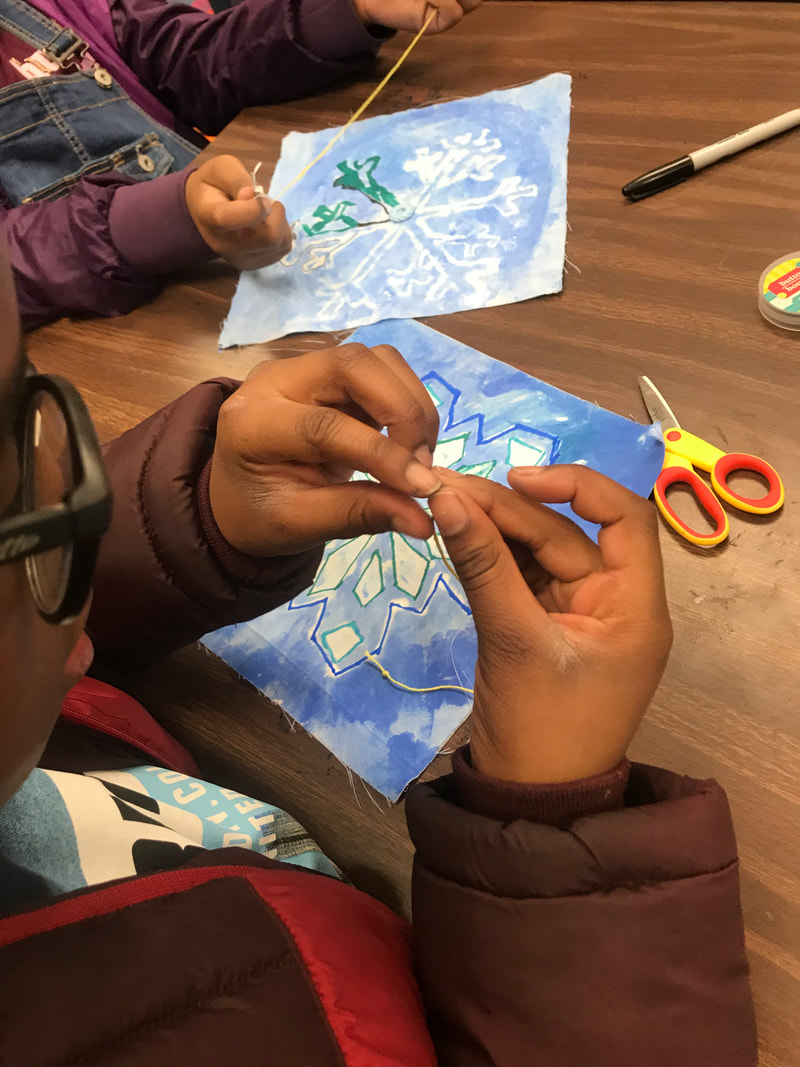
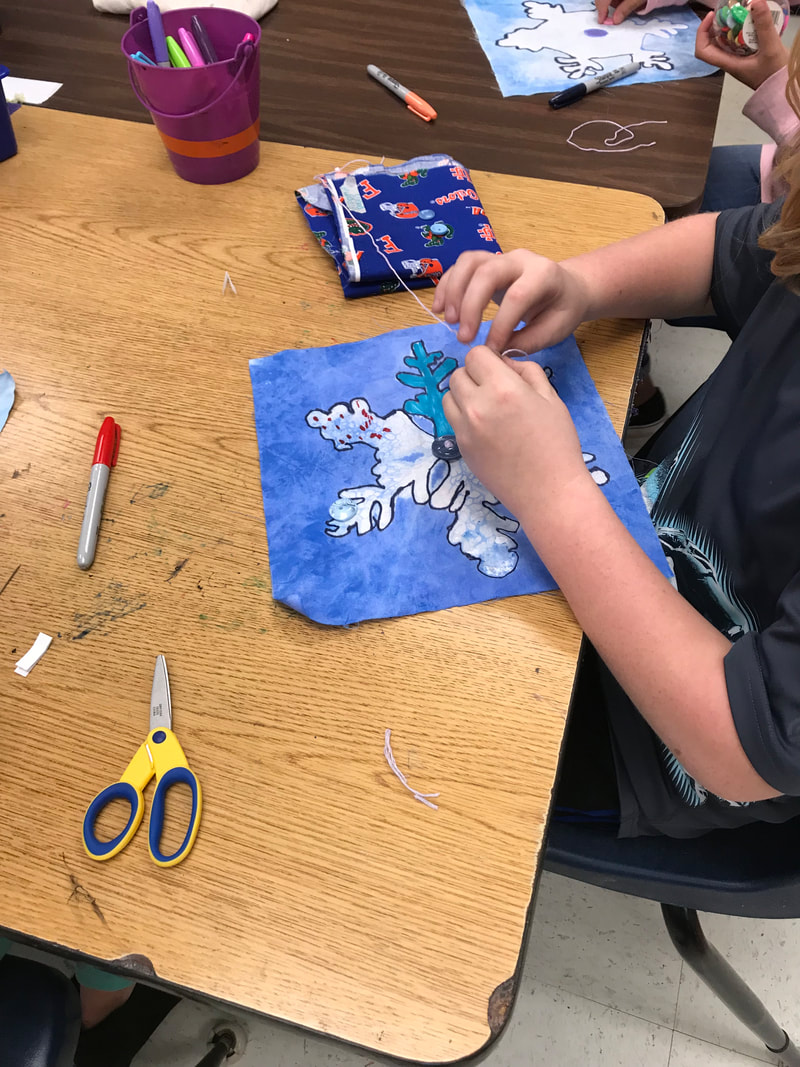
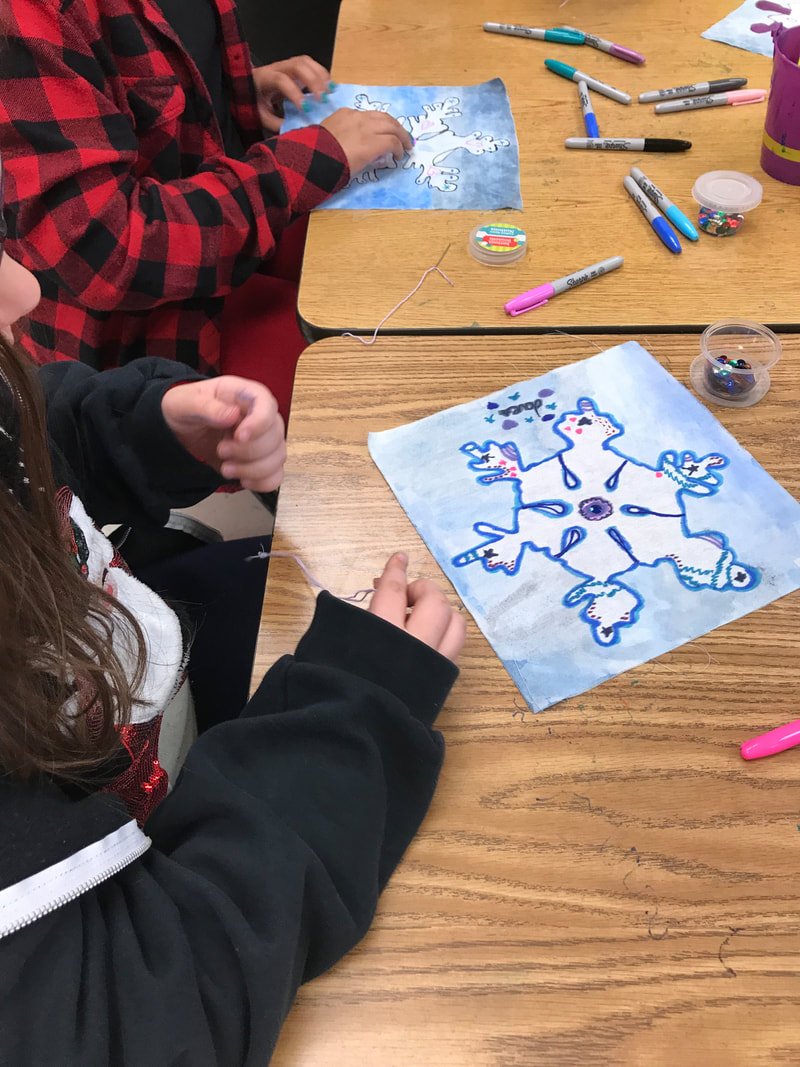
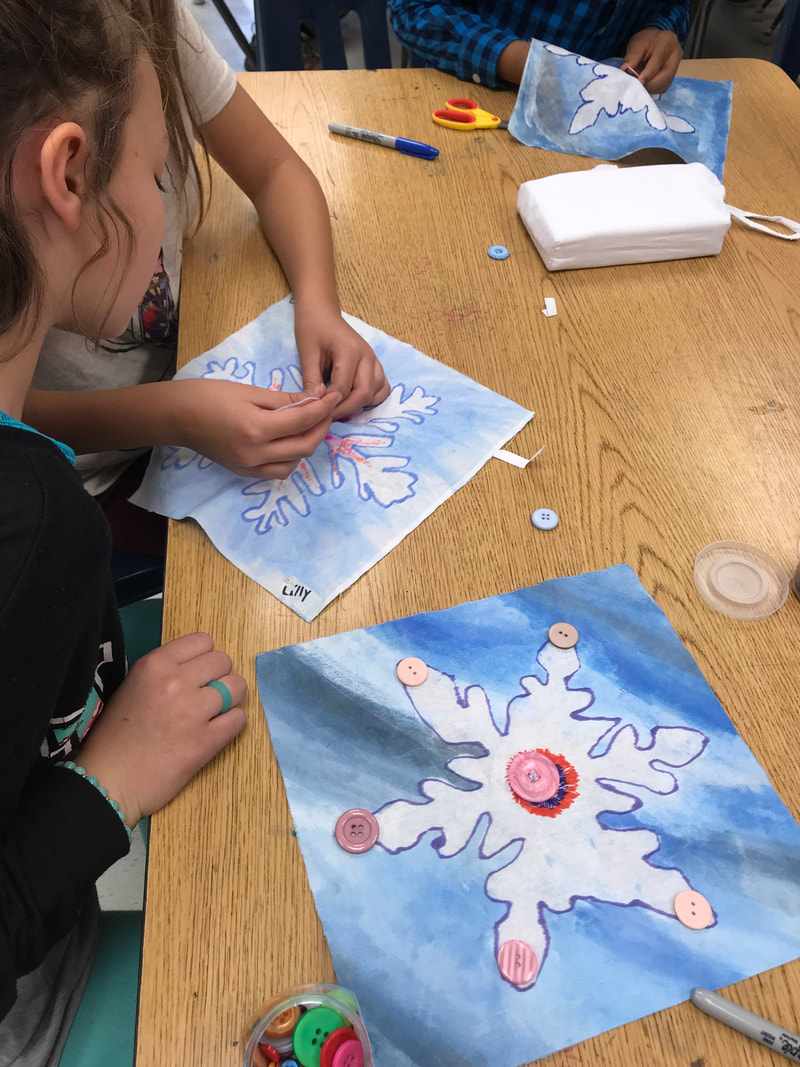
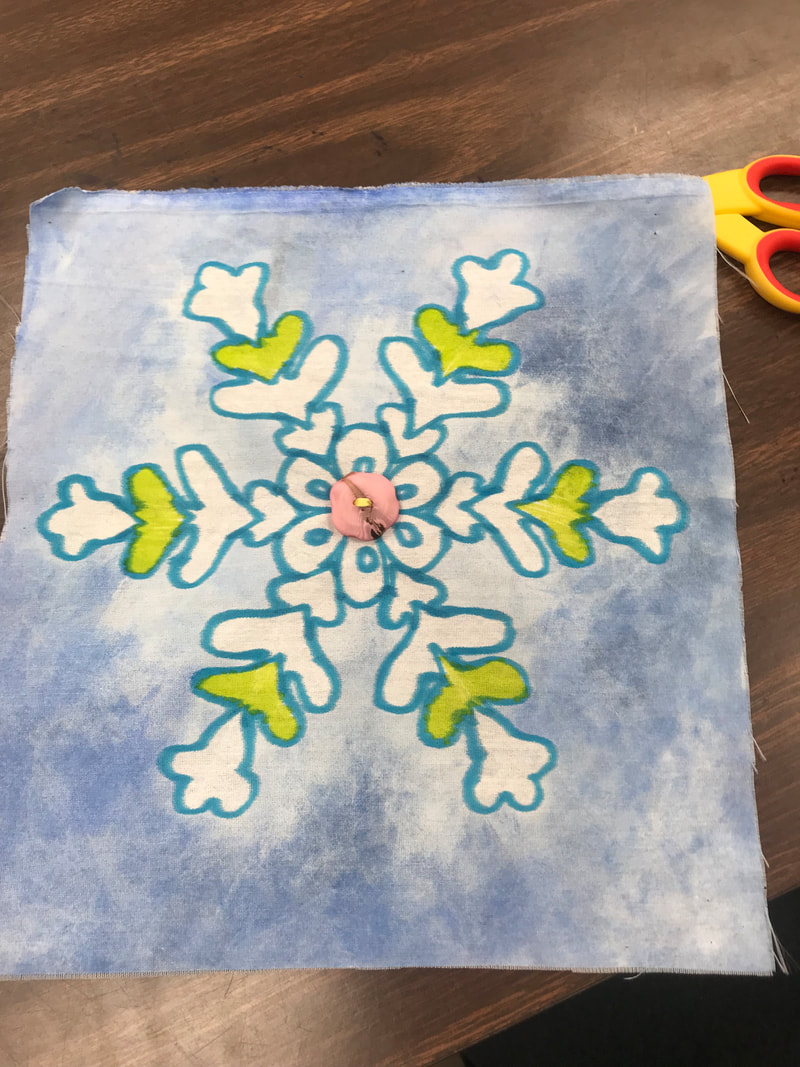
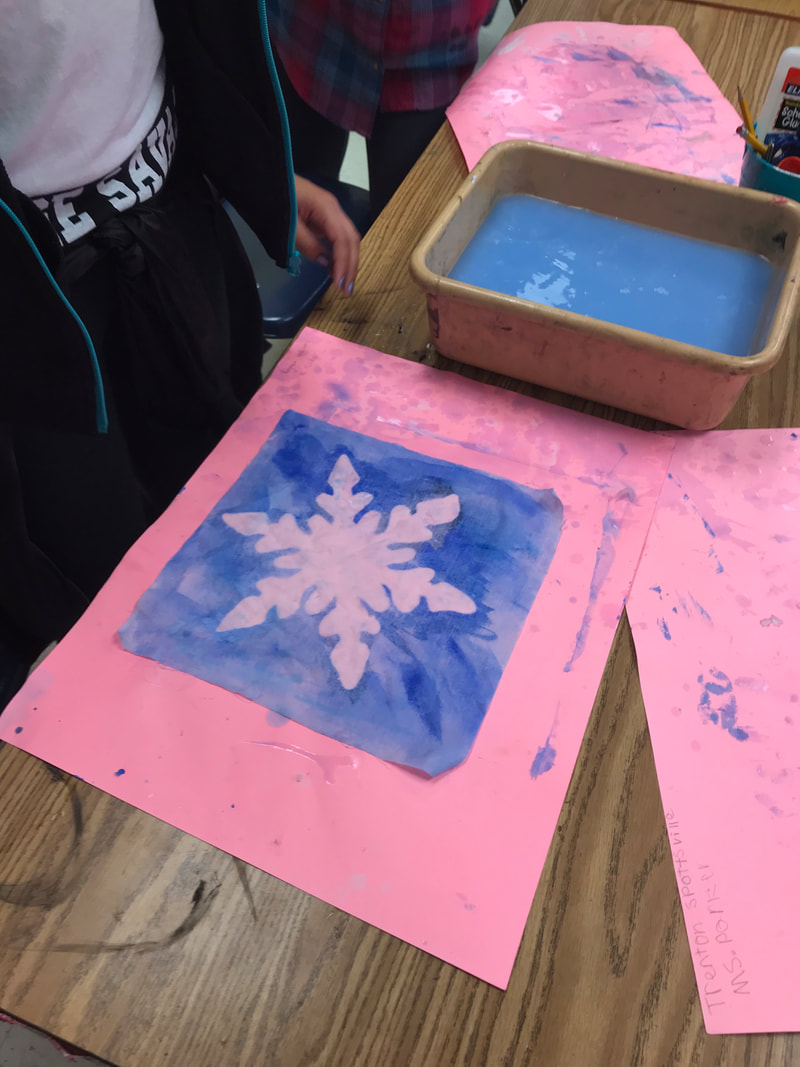
Well we pinned together our Batik Snowflakes for the 3rd grade performance and it looked AMAZING. Now we are learning to sew! This week we learned the basics and tried our best to sew a button onto our snowflake. I know what you are thinking...what's so hard about that!? Well it can be a challenge if you have never sewn before! But don't worry, by the time we are finished they will be able to sew you a pillow, fix their buttons and patch up their clothes for you! Enjoy the pictures!
0 Comments
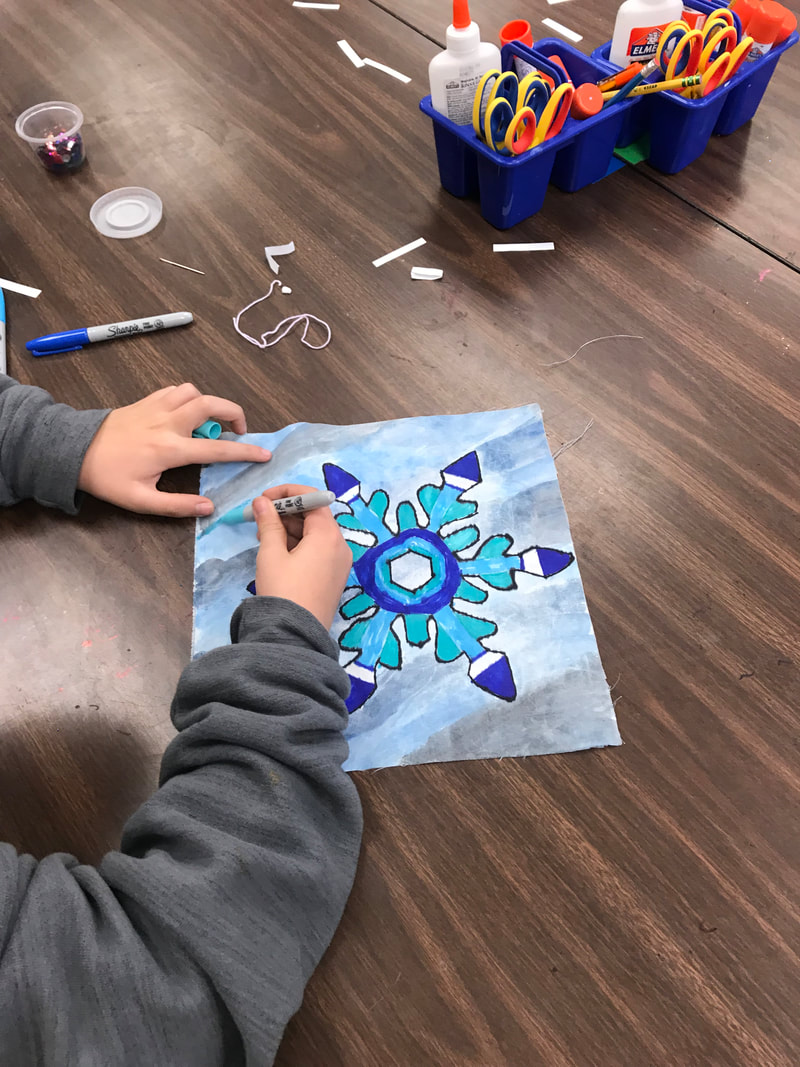
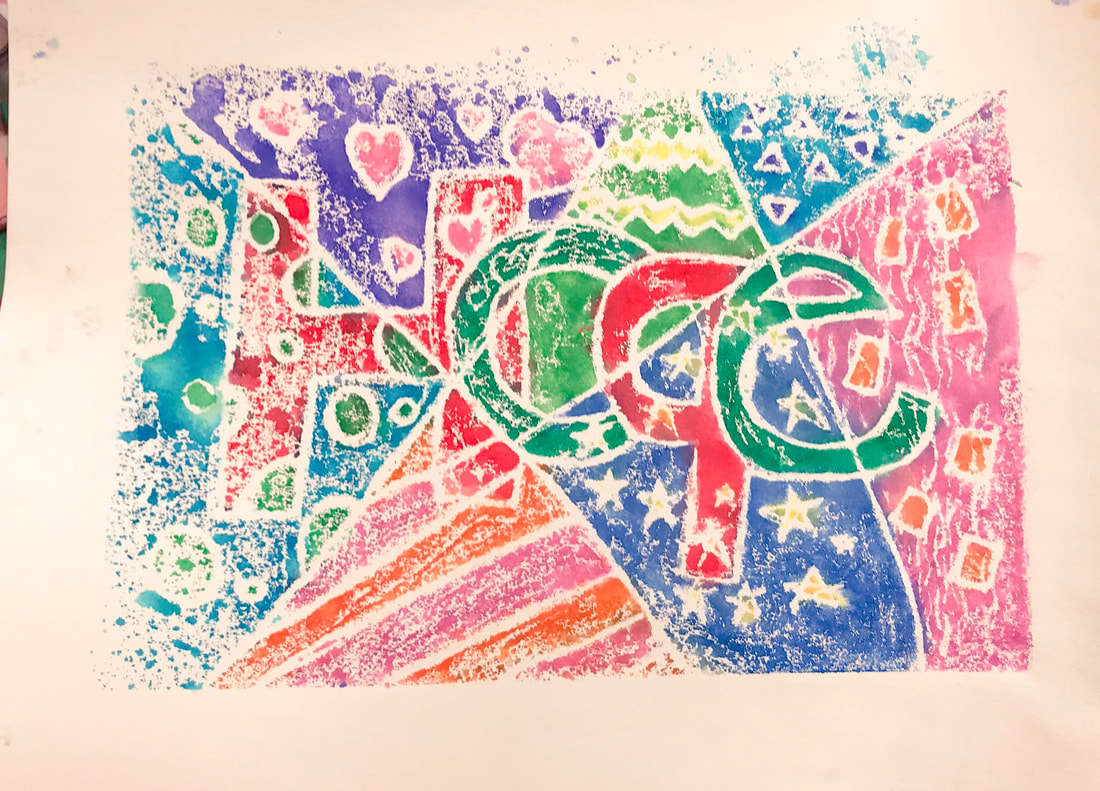
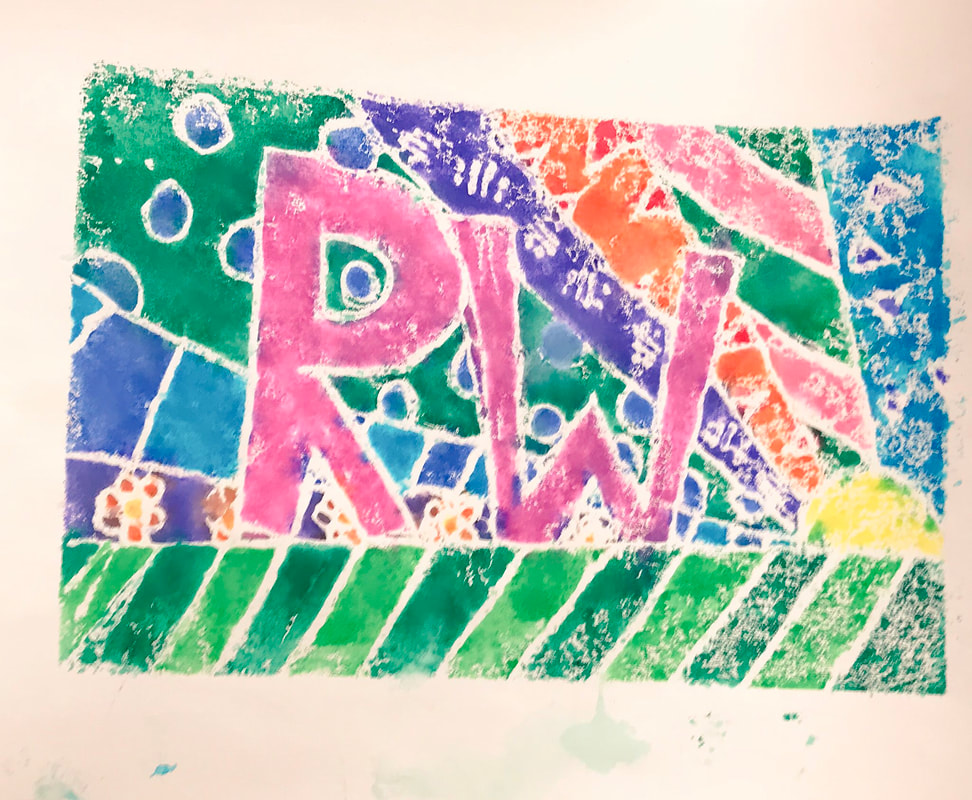
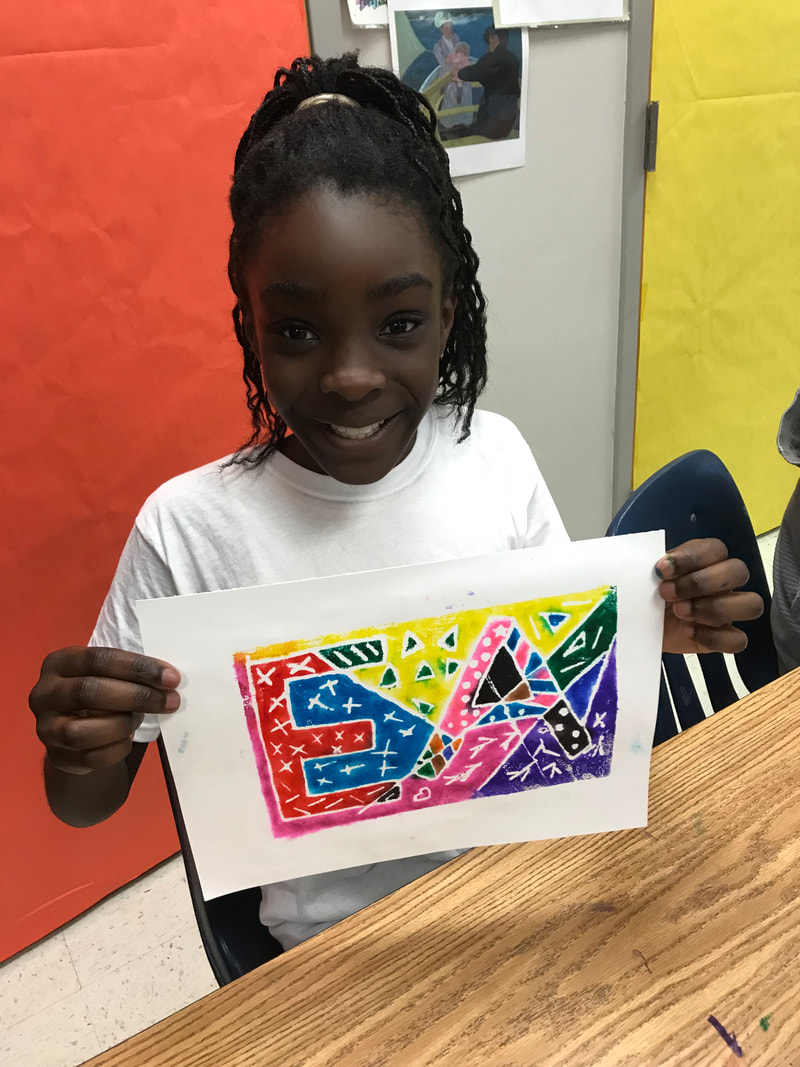
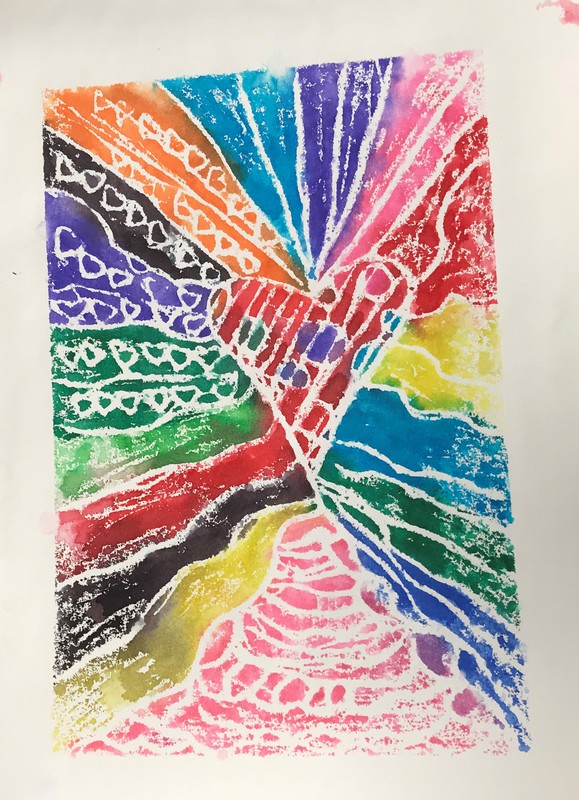
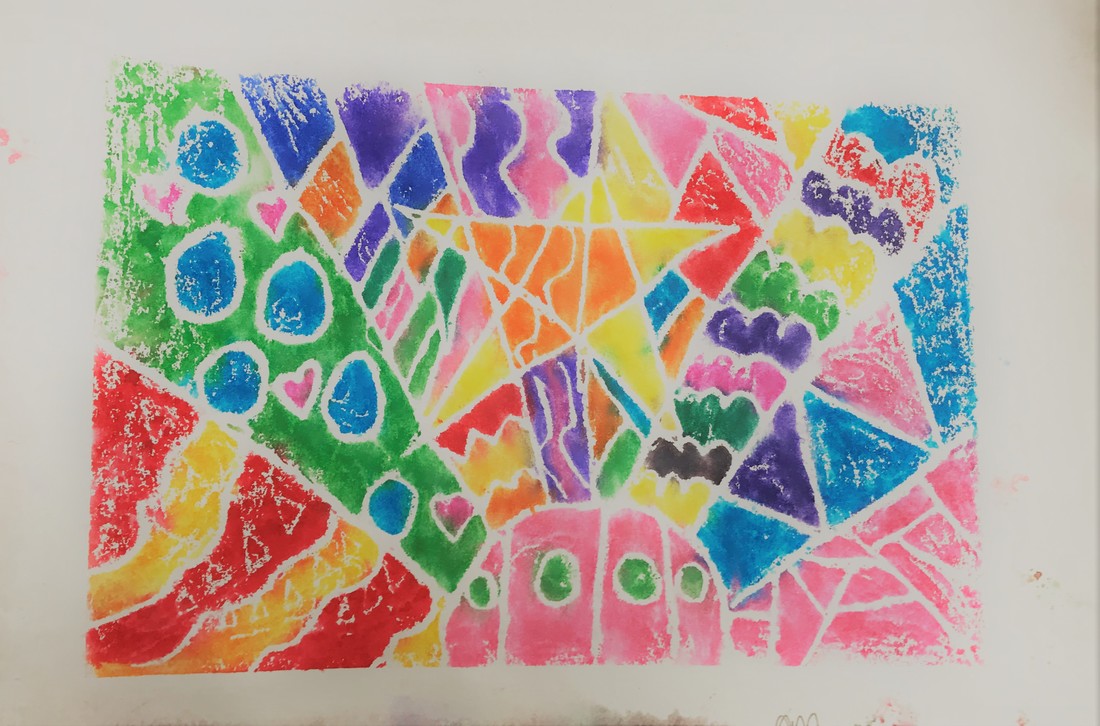
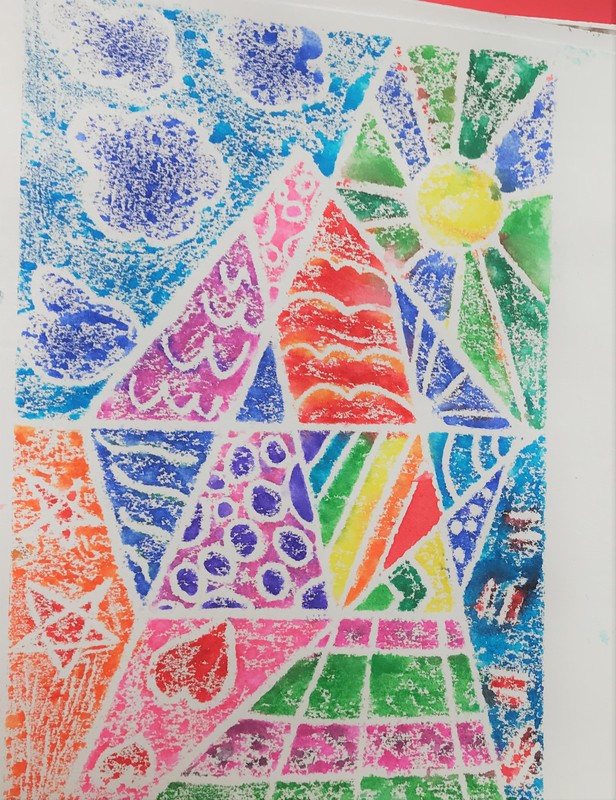
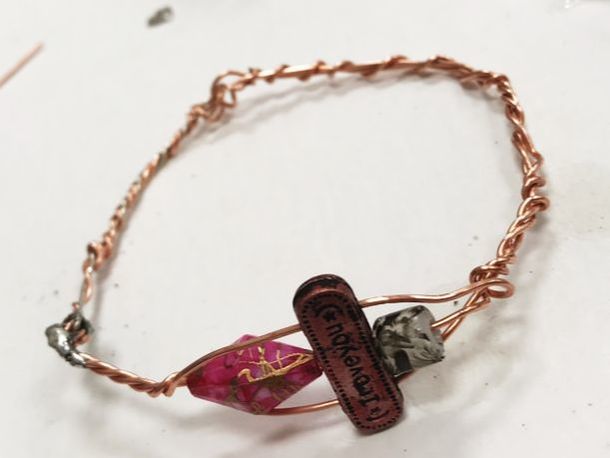
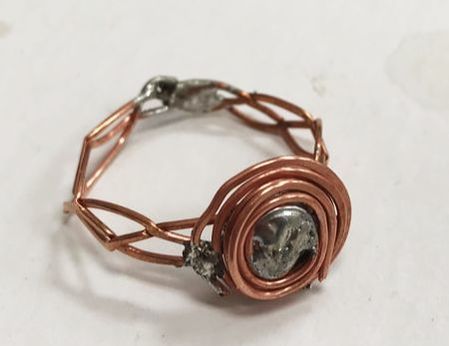
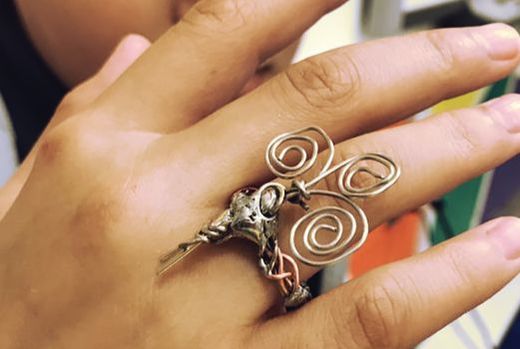
WOOOOWWW These Romero Britto inspired marker prints are turning out amazing! This is only the first step with the printmaking. When they dry we will trace all the white lines with a sharpie to make our designs, patterns, and drawing POP!! check out what 5th grade is working on! We looked at the process of batik and learned how to use everyday items (tooothpaste and lotion!) to create our own batik. Then we mastered our tints and shades and painted in a monochromatic color scheme. We just rinsed then out and will be pinning them up for the backdrop for the 3rd grade performance in December! We will be seeing as a last step and turning them into pillows. Wheh!! This project covers it all! Last friday all eight fifth grade classes made their way to the art room throughout the day. We talked about positive and negative space earlier in the week to prepare for this day. Then using chalk, water, and paper, we created positive and negative space in a really cool way. Check out all the pictures! Our 5th grade students are hard at work. We are also working on our art for the Original Works fundraiser. YOU ARE GOING TO LOVE IT! I am freaking out at how talented your kids are! They truly are inspiring and creative kids. I hope you enjoy this preview of their Tropical Paradise paintings. We talked about using tempera paints and how to blend/water them to create the color/colors we are looking for. We also drew from our imaginations and images to create our own Tropical paradises. You should be very proud of these kids. The 5th grade self portraits of why they are awesome kids are all finished and ready to be hung up for the 5th grade performance on October 2nd. For this project we focused on using symbols to convey 'why we are awesome' because artists use images and authors use words. We also used mirrors to create our self-portraits from direct observation. Hope to see you at the performance and enjoy the preview of the students' work! i love this project. We learned about gestures and how to use them to capture movement of life. We then had some student models that we drew. Then we took an action pose and turned it into a sculpture using aluminum foil. Sorry parents if your kid starts using your aluminum! These sculptures are so much fun and everyone seemed to really enjoy it! Enjoy the pictures! This year I decided to try a pilot jewelry making program with one of my 5th grade classes. I was so inspired by the art teacher at McEachern HS and her jewelry making program that I wanted my students to share in the experience. I invited Ms. Mege to our classroom to present to my students and show them the basics. We have now met 3 times and so far they are STILL super excited to keep working. Below you will see pictures of completed pieces. I broke out my soldering iron so they have more permanence. Enjoy! 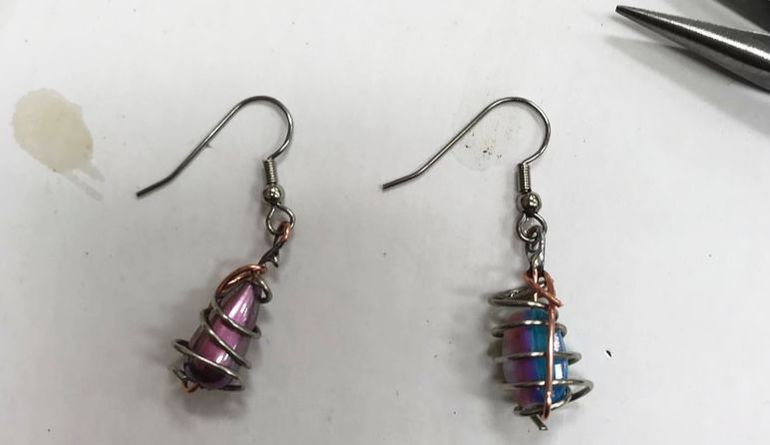
This is a new project for me and was inspired by a fellow art teacher whom I love dearly, Maureen Armstrong at Mountain View Elementary school. What we did was look at different cultures and discuss the origins of language and communication. We talked about how symbols only hold meaning when placed in context of the culture they belong to. Then we viewed a few examples and talked about them. Then students went back to their tables and read through several different cultures that I was able to find symbols of and selected two cultures and symbols that spoke to them. Students drew these symbols on a small square then learned how to use tracing paper to make a transfer to a much larger square so that the resulting image is symmetrical. Then I taped the traced drawing to copper, students chose either the copper or the silver side, and students used wooden and plastic dowels to create the impression on the copper. This process of creating a raised relief on metal is called Repousse. The final step is to paint india ink over the entire surface then we polish it off so it only falls in the lines, this is called a Patina (brownish sheen polished on metal). The final step is for students to write their artist statement. I loved this project! It was fun for the kids to read about different cultures and I haven't had a single student feel lost or as though they cannot do this. Every student so far has loved their end result and it has created lots of smiles! |
Mrs. ThompsonWelcome to the Big Shanty Intermediate art room! I hope you enjoy seeing what we are doing! Archives
May 2020
Categories
All
|


 RSS Feed
